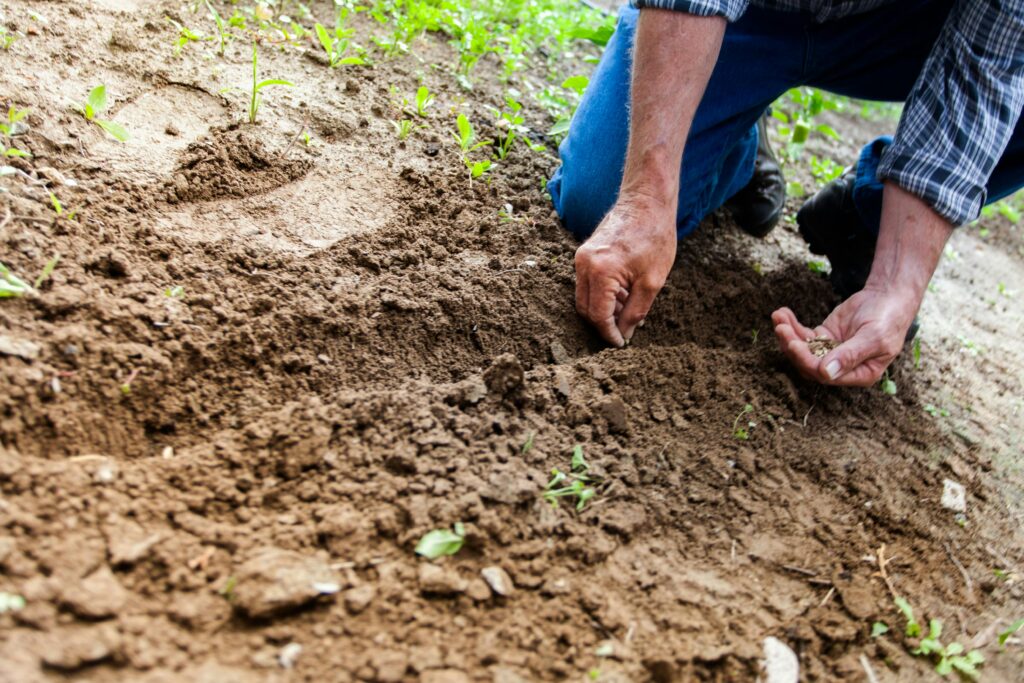
Spring arrives with promise, but your garden’s success hinges entirely on what lies beneath the surface. Preparing soil for spring planting isn’t just about turning earth – it’s about creating a living foundation that will support months of growth, weathering, and harvest.
The weeks before planting represent your single best opportunity to address soil deficiencies, boost organic matter, and establish the conditions that separate thriving gardens from struggling patches. Most gardeners rush through this crucial phase, but systematic soil preparation creates the foundation for productive spring planting across Australia’s diverse growing conditions.
Why Spring Soil Preparation Makes the Difference
Soil preparation for spring planting addresses winter’s accumulated impacts on your growing beds. Rain leaches nutrients, organic matter decomposes, and soil structure becomes compacted or waterlogged depending on your drainage conditions.
The biological advantage: Spring preparation timing coincides with increasing soil temperatures and microbial activity. This makes it the optimal period for incorporating amendments that require biological processing.
Structural improvements: Winter weather creates compaction and settling issues that restrict root development. Addressing these problems before planting prevents root issues that are nearly impossible to correct once crops establish.
Nutrient cycling: Organic matter added during spring preparation breaks down gradually through the growing season, providing steady nutrient release rather than the feast-or-famine cycle of quick-release fertilisers.
Test Your Soil First – Know What You’re Working With
Soil testing provides the roadmap for effective preparation by revealing current nutrient levels, pH balance, and hidden problems that affect plant performance.
Basic testing covers:
- pH levels (optimal range 6.0-7.0 for most vegetables)
- Primary nutrients: nitrogen (N), phosphorus (P), potassium (K)
- Organic matter percentage
Advanced testing includes:
- Secondary nutrients: calcium, magnesium, sulphur
- Trace elements: iron, zinc, boron, copper
- Soil biology indicators and microbial activity levels
Reading Your Test Results – Quick Interpretation Guide
pH levels affect nutrient availability more than absolute nutrient amounts:
- Below 6.0: Apply lime to raise pH gradually
- 6.0-7.0: Optimal range for most vegetables
- Above 7.5: Consider sulphur or organic matter to improve nutrient access
Nitrogen readings change rapidly and indicate current availability:
- Low: Increase organic matter or nitrogen-rich amendments
- High: Reduce nitrogen inputs to prevent soft growth
Phosphorus accumulates in soil over time:
- Low: Add compost, aged manure, or rock phosphate
- High: Reduce phosphorus-containing fertilisers
Organic matter percentages indicate soil health:
- Below 3%: Significant improvement needed through compost and amendments
- 5-8%: Excellent soil health requiring maintenance only
- Above 8%: May indicate excessive amendments
Organic Amendments – What to Add and When
Organic amendments form the backbone of soil preparation, providing nutrition, structure improvement, and biological activity that synthetic fertilisers cannot match.
Compost Application
Well-aged compost provides balanced nutrition and improves soil structure:
- Application rate: 5-10cm layer across planting areas
- Timing: 4-6 weeks before planting
- Method: Work into top 10-15cm of soil
Fresh compost can tie up nitrogen during decomposition:
- Only use if aged at least 6 months
- Allow extra breakdown time before planting
Animal Manure Guidelines
Cow manure offers gentle, balanced improvement:
- Application rate: 3-5cm layer
- Timing: 6-8 weeks before planting
- Benefits: Steady nutrition, structure improvement
Chicken manure provides higher nitrogen levels:
- Application rate: 2-3cm layer
- Timing: 6-8 weeks before planting
- Best for: Heavy-feeding crops like brassicas and leafy greens
Quick-Acting Organic Fertilisers
Blood and bone meal provides readily available nutrients:
- Application rate: 100-150g per square metre
- Timing: 2-3 weeks before planting
- Benefits: Quick establishment nutrition
Amendment Rate Reference Chart:
| Amendment | Rate per m² | Timing | Key Benefits |
| Compost | 5-10cm layer | 4-6 weeks | Structure, biology, nutrition |
| Cow manure | 3-5cm layer | 6-8 weeks | Gentle nutrition, organic matter |
| Chicken manure | 2-3cm layer | 6-8 weeks | High nitrogen, quick results |
| Blood & bone | 100-150g | 2-3 weeks | Available N & P |
| Kelp meal | 50-100g | 4-6 weeks | Trace elements |
Green Manures for Late Winter Soil Building
Green manures planted in late winter provide exceptional soil preparation benefits whilst protecting bare earth during dormant months. These living amendments capture atmospheric nitrogen and create extensive organic matter when incorporated.
Top green manure choices:
Crimson clover – Plant May-June, incorporate August-September:
- Fixes atmospheric nitrogen
- Extensive root system improves structure
- Allow 6-8 weeks breakdown time
Mustard and radish – Quick 8-10 week cycle:
- Break up compacted soil with deep taproots
- Rapid growth creates substantial organic matter
- Natural disease suppression compounds
Phacelia – Plant late autumn for spring incorporation:
- Excellent for soil biology
- Attracts beneficial insects when flowering
- Breaks down quickly when incorporated
Incorporation timing: Chop plants at soil level 3-4 weeks before planting. Work into top 10-15cm and water thoroughly to encourage breakdown.
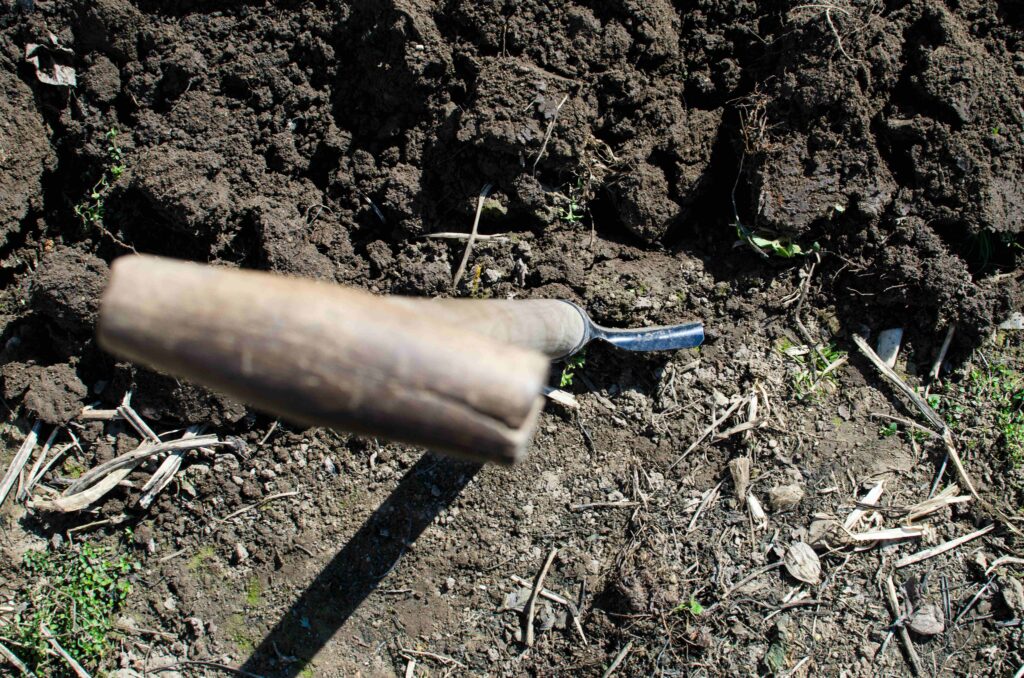
Mechanical Preparation Techniques
Choose mechanical preparation methods based on your soil condition and gardening philosophy. Each approach offers distinct advantages when applied correctly.
Broadforking for Gentle Decompaction
Best for: Established beds with good organic matter
Method: Insert broadfork 20-30cm deep, rock gently to create fractures
Benefits: Improves drainage without disrupting soil layers
Timing: Late winter when soil moisture is optimal
Double Digging for Intensive Preparation
Best for: New beds or severely compacted areas
Method: Remove topsoil, loosen subsoil, replace with amendments
Benefits: Creates deep, loose growing medium
Drawbacks: Labour intensive, disrupts soil biology
No-Dig Surface Amendment
Best for: Healthy soils with active biology
Method: Apply amendments to surface, allow natural incorporation
Benefits:Preserves soil structure and biological communities
Timeline: Requires longer processing time for full integration
Light Cultivation for Seed Bed Preparation
Purpose: Final preparation for direct seeding
Method: Light raking or hoeing to create smooth, level surface
Timing:Immediately before planting
Depth: Top 2-5cm only to avoid structure disruption
Building Raised Beds and Heavy Clay Solutions
Heavy clay soils challenge many Australian gardeners but respond well to targeted preparation strategies that work with clay’s characteristics rather than against them.
Immediate solutions:
Raised bed construction provides drainage whilst allowing gradual soil improvement:
- Build 20-30cm high for adequate drainage
- Use quality soil mix rather than trying to amend clay
- Edge with timber, stone, or steel for structural support
Gypsum application improves clay particle aggregation:
- Apply 1-2kg per square metre during preparation
- Work into top 15cm of soil
- Shows improvement over 6-12 months
Long-term clay improvement:
Coarse organic matter creates lasting structure improvements:
- Use aged wood chips, coarse compost, or chunky materials
- Avoid fine amendments that create impermeable layers
- Apply annually for cumulative improvement
Timing considerations prevent clay damage:
- Never work clay when too wet (forms sticky balls)
- Wait for proper moisture content (soil crumbles when squeezed)
- Avoid foot traffic on wet clay areas
Mulching and Moisture Management Strategies
Effective mulching begins during soil preparation, creating conditions that support establishment whilst providing ongoing benefits throughout the growing season.
Organic mulch options:
Straw or hay:
- Apply 5-8cm thick around plants
- Keep away from stems to prevent disease
- Provides ongoing soil improvement as it decomposes
Shredded leaves:
- Excellent for vegetable gardens
- Breaks down gradually throughout season
- Free source from deciduous trees
Living mulches:
- Dense plantings that protect soil surface
- Consider nitrogen-fixing clovers between rows
- Provides ongoing harvest opportunities
Moisture management essentials:
Irrigation planning before planting season:
- Install drip systems or soaker hoses
- Ensure even distribution across growing areas
- Test system operation before critical planting periods
Soil moisture monitoring:
- Check moisture at seed depth (5-10cm)
- Maintain consistent moisture during preparation
- Avoid extremes that damage soil structure
Building Living Soil Biology
Soil preparation must nurture the biological components that transform earth into a living system capable of supporting vigorous plant growth.
Beneficial organism introduction:
Compost tea applications:
- Brew using aged compost, molasses, and aerated water
- Apply during preparation to establish beneficial populations
- Provides gentle nutrition for soil biology
Worm castings:
- Apply 1-2cm across planting areas
- Work into top 5cm of soil
- Diverse microorganisms establish quickly
Mycorrhizal inoculants:
- Create beneficial root relationships
- Extend nutrient and water uptake capacity
- Apply during preparation or at planting time
Protecting soil biology:
- Avoid cultivation when soil is too wet or dry
- Use aged rather than fresh organic materials
- Maintain consistent moisture without waterlogging
Common Preparation Mistakes to Avoid
Understanding frequent soil preparation errors helps create successful growing conditions whilst avoiding problems that take seasons to correct.
Over-amendment problems:
- Excessive nitrogen causes soft, pest-susceptible growth
- Follow recommended rates rather than assuming more is better
- Allow proper processing time between application and planting
Timing errors:
- Working wet soil creates compaction and structure damage
- Fresh organic matter ties up nitrogen during decomposition
- Insufficient time between amendments and planting
pH neglect:
- Most vegetables require 6.0-7.0 pH for optimal nutrient uptake
- Test annually and adjust gradually
- pH affects nutrient availability more than absolute nutrient levels
Weekly Spring Preparation Timeline
August – Early Preparation Phase:
- Week 1: Conduct soil tests, order amendments
- Week 2: Incorporate winter green manures, apply lime or gypsum
- Week 3: Begin broadforking compacted areas
- Week 4: Apply slow-release amendments and rock dusts
September – Amendment Integration:
- Week 1: Incorporate aged compost and manure
- Week 2: Install irrigation systems, continue structural work
- Week 3: Apply blood and bone or quick-acting fertilisers
- Week 4: Complete mechanical cultivation, begin mulching
October – Final Preparation:
- Week 1: Light cultivation for seed bed preparation
- Week 2: Apply compost tea and biological inoculants
- Week 3: Monitor soil temperature and moisture
- Week 4: Beds ready for spring planting
Quick Preparation Checklist
Essential Steps for All Soil Types:
✓ Test soil pH and nutrients before beginning
✓ Apply amendments 4-6 weeks before planting
✓ Allow processing time for organic materials
✓ Monitor soil temperature for planting readiness
✓ Ensure adequate drainage before establishment
Heavy Clay Specific Tasks:
✓ Apply gypsum for structure improvement
✓ Build raised beds for immediate drainage
✓ Use coarse organic matter only
✓ Never work when soil is too wet
Sandy Soil Considerations:
✓ Increase organic matter percentage annually
✓ Focus on water-holding improvements
✓ Apply amendments more frequently in smaller amounts
✓ Monitor nutrient leaching during wet periods
Successful soil preparation for spring planting requires patience, observation, and systematic approach. The time invested in proper preparation creates growing conditions that support plant health, reduce maintenance requirements, and deliver consistently better harvests throughout the growing season.