As more Australians lean into sustainable living, composting has become less of a niche hobby and more of a household norm. But traditional compost systems — large bins, frequent turning, and ongoing maintenance — don’t suit everyone. That’s where in-ground composting steps in.
Simple, discreet, and effective, in-ground compost bins offer a low-effort way to turn kitchen scraps into nutrient-rich soil, right where your plants need it most. Whether you’re growing veggies in a suburban backyard or maintaining raised beds in a courtyard, this method adapts easily. And the best part? Once it’s in the ground, the composting mostly takes care of itself.
In this guide, we’ll explore what in-ground composting is, how it works in Australian climates, and why it’s one of the most efficient ways to feed your garden while cutting down on waste PLUS compare some of the best in-ground composters available on the Australian market and how they might be suited to different people and farm types.
- What is In-Ground Composting?
- Why Choose In-Ground Composting?
- Setting Up an In-Ground Compost Bin in Australia
- What to Compost and How to Maintain It
- Harvesting and Using Your Compost
- Comparing the Best In-Ground Compost Bins and Setups in Australia
What is In-Ground Composting?
In-ground composting is exactly what it sounds like: composting beneath the surface of the soil. Unlike traditional bins that sit above ground and often require turning and layering, this method uses the natural ecosystem beneath your feet — worms, microbes, and soil bacteria — to break down organic waste.
The process can be as informal as digging a hole and burying kitchen scraps, or as structured as installing a dedicated in-ground compost bin or worm tower. Either way, the soil itself becomes the composting environment.
Instead of taking months of careful tending, your garden does the work — converting everyday waste into humus-rich material that supports plant growth, improves water retention, and strengthens soil structure.
This passive style of composting is particularly suited to Australian gardeners who want sustainable solutions that are also time-efficient and manageable.
Why Choose In-Ground Composting?
Let’s break down the reasons more and more Australians are opting for in-ground composting over traditional bins or tumblers:
Space Efficiency
Urban gardening has become more popular, but space is often tight. In-ground bins sit flush with the soil or just slightly above it, taking up virtually no extra room. This makes them ideal for smaller properties, rental homes, or shared garden beds.
Low Maintenance
Once buried, an in-ground compost system requires very little attention. There’s no turning, no layering, and no worrying about “cooking” your compost. As long as you maintain a balance between wet and dry inputs, nature handles the rest.
Better Pest Control
Because these systems are sealed and buried, they naturally deter rodents, flies, and other unwanted visitors. It’s still important to avoid putting in meat, dairy, or oily foods — but for veggie scraps and eggshells, it’s safe and secure.
Soil-First Design
Perhaps the biggest benefit is that compost is delivered right into the soil ecosystem. The nutrients don’t need to be transported or spread — they break down in place, supporting nearby plant roots and helping build living, breathable soil.
Smell-Free
One of the reasons people hesitate with composting is the potential for unpleasant odours. Because these systems are underground and sealed, the process is anaerobic and far less smelly than an exposed heap. When managed properly, they’re virtually odourless.
Setting Up an In-Ground Compost Bin in Australia
Getting started with in-ground composting is surprisingly straightforward — and the initial setup can be done with minimal tools, time, or cost. Whether you’re working with sandy soil in coastal NSW or clay-heavy ground in Victoria, the principles are the same: choose the right site, create access to soil life, and protect the compost from pests and weather extremes.
1. Choose the Right Location
Start by identifying a suitable spot in your garden. You’ll want an area with good drainage — if your soil tends to get waterlogged, you may need to raise the site slightly or dig a shallower hole. Partial sunlight is ideal; it helps maintain a mild warmth in the soil without drying out your compost too quickly.
Avoid placing in-ground bins near tree roots, as they may grow towards the compost and compete for nutrients. Positioning your bin near established garden beds, fruit trees, or ornamental plants allows them to passively benefit from the improved soil health.
In suburban backyards, many people install bins directly into their veggie patches. In this way, composting becomes part of the growing process rather than a separate task.
2. Dig the Hole
The size of the hole depends on the system you’re installing. For a typical DIY bucket method, a hole around 30–50 cm deep and 20–30 cm wide is sufficient. This depth gives you enough volume to regularly add waste without needing constant maintenance.
If your soil is particularly compacted (common in parts of South Australia or inner-city builds), consider soaking the area beforehand or using a post-hole digger to make the task easier.
Ensure the hole’s bottom and sides are in contact with natural soil — this access is what allows worms and microbes to do their job. You don’t want a sealed base; the point is to create a two-way exchange between the compost and the surrounding ground.
3. Install the Bin
You have two main options: purchase a purpose-built in-ground compost bin (sold at many Bunnings stores or via local councils), or make your own. DIY options can be just as effective and more flexible for non-standard garden layouts.
For DIY builds, start with a plastic bucket, lidded bin, or length of wide PVC pipe. Remove the base, and drill or cut holes along the sides to encourage airflow and soil access. The top of the bin should sit just above the surface so you can easily add waste and secure the lid.
If you’re composting in a bushfire-prone area, consider metal alternatives or positioning your system away from structures to meet fire safety regulations.
Once installed, tamp the soil around the bin snugly to secure it in place and discourage digging animals like foxes or possums. Pop the lid on, and you’re ready to begin.

What to Compost and How to Maintain It
Once your in-ground compost bin is installed, the next step is understanding what to put in it — and how to maintain a healthy system that works through all seasons of the Australian climate.
What to Add
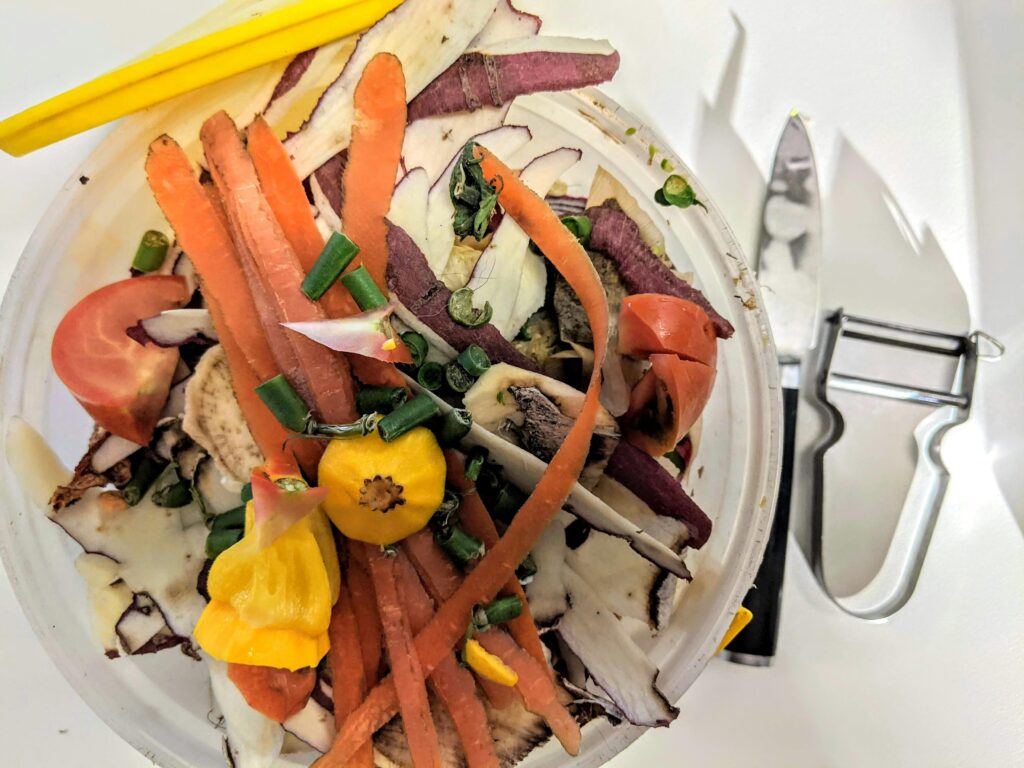
The beauty of in-ground composting is that it’s forgiving, but to get the most out of it, a good mix of “greens” and “browns” is key. In an Australian context, common kitchen greens include:
- Vegetable peels and cores
- Fruit scraps (avoid too much citrus)
- Coffee grounds and tea leaves
- Crushed eggshells
- Wilted greens and herb trimmings
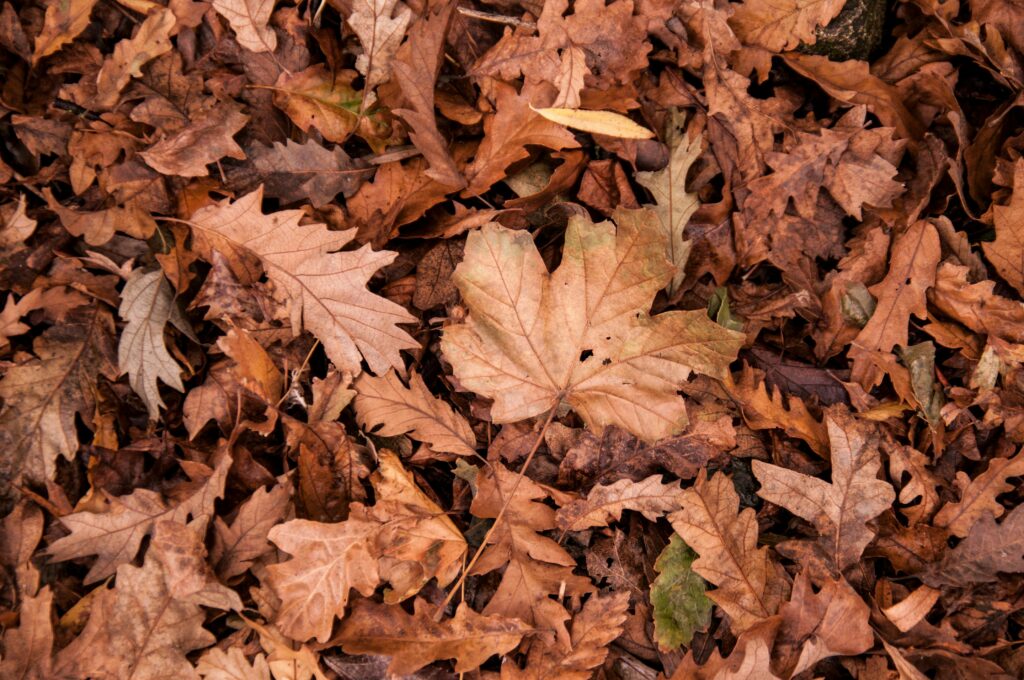
To balance these, incorporate brown materials like:
- Dry leaves (gum or wattle leaves are fine)
- Shredded paper and cardboard (uncoated)
- Straw or sugarcane mulch
- Sawdust from untreated timber
Avoid adding meat, dairy, bones, and fatty or oily foods. In warmer climates like Queensland or northern WA, these materials decompose faster but also attract pests quickly. Stick to plant-based waste and let worms and microbes do the work.
You can also add compostable packaging, but only if it’s certified (look for the AS 5810 label for home compostability).
Seasonal Maintenance
Australia’s diverse climate zones — from the cool temperate south to the tropical north — mean compost behaves differently across the country.
In summer, compost bins can dry out, especially in Perth, Adelaide, or regional NSW. If your pile looks dry or crumbly, water it lightly with a watering can, and add moist greens like melon skins or lettuce offcuts.
In winter, decomposition slows, particularly in cooler regions like the ACT or Tasmania. To keep microbes active, chop scraps into smaller pieces and insulate the bin with a layer of straw or sugarcane mulch on top of the pile. Avoid overwatering, as soggy compost can go anaerobic and smelly.
Once every few weeks, give the contents a gentle stir using a stick or garden fork to introduce oxygen and encourage even breakdown.
Troubleshooting Common Issues
If your bin starts to smell, it’s usually due to too much nitrogen (green waste) and not enough carbon (browns). Mix in dry leaves or shredded cardboard and turn the contents to reintroduce air.
Ants often appear in dry conditions. This usually means the compost is too dry — add water and cover with mulch to balance moisture levels. Maggots or fruit flies? They’re not harmful, but you can deter them by burying new waste under a layer of browns each time.
Harvesting and Using Your Compost
After 2–6 months, depending on conditions, your compost will become dark, crumbly, and smell like soil. If you used a bucket or tube system, simply lift it out and replace it in a new location.
You can dig the compost directly into nearby beds, top-dress around fruit trees, or blend it with soil for seed starting. It’s especially beneficial for poor soils common in Australian suburbs — adding structure to sandy soils and breaking up clay-heavy ground.
Comparing the Best In-Ground Compost Bins and Setups in Australia
Whether you’re a beginner gardener or a seasoned grower, choosing the right in-ground compost setup can make a significant difference in ease of use, maintenance, and results. Below is a breakdown of popular in-ground composting options available in Australia, from budget DIY systems to commercially available units.
| Setup | Best For | Budget Range | Ease of Use | Capacity |
| DIY Bucket | Budget gardeners | $0–$20 | Moderate | Flexible |
| Tumbleweed Worm Feast | Small yards, worm beginners | ~$60 | Easy | Low to medium |
| Green Cone | Minimal-maintenance households | ~$250 | Very Easy | Medium |
| Trench Composting | Garden bed prep | Free | Moderate | High |
| Subpod Mini | Stylish, compact spaces | $160–$250 | Very Easy | Medium |
1. DIY Bucket or Drum System
Cost: $0–$20 (depending on materials)
Availability: Immediate (upcycled materials like paint buckets or nursery pots)
Effectiveness: High, when maintained well
Ease of Use: Moderate — requires basic tools
Pros:
- Extremely cost-effective
- Customisable size and placement
- Encourages reuse of plastic waste
Cons:
- No built-in lid — may need DIY solution to keep pests out
- Requires drilling or cutting tools for perforations
This is ideal for gardeners who want flexibility or are already compost-savvy. Use multiple buckets rotated through the garden beds for ongoing composting.
2. Tumbleweed Worm Feast
Cost: ~$50–$65
Availability: Widely available at Bunnings, Mitre 10, and online (Australia-wide)
Effectiveness: Excellent with compost worms
Ease of Use: Easy
Pros:
- Designed for worm composting (vermiculture)
- Compact with a secure child- and pest-safe lid
- Suitable for urban backyards and raised beds
Cons:
- Requires worm maintenance
- Limited capacity (may need multiple units for larger households)
Best suited to small households or gardeners wanting a low-maintenance, pest-resistant option.

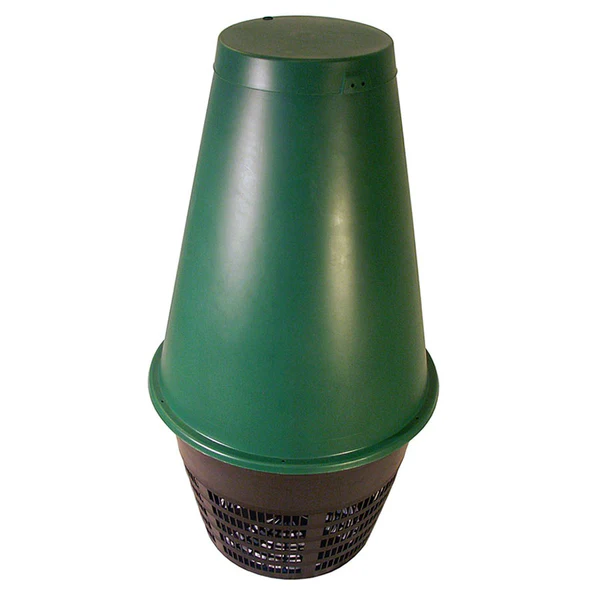
3. Maze Green Cone Solar Digester
Cost: ~$250
Availability: Online or through select eco-living retailers
Effectiveness: High (especially for household waste digestion)
Ease of Use: Very easy
Pros:
- Uses solar heat to speed decomposition
- Handles some cooked food and small bones
- Fully enclosed system — no turning needed
Cons:
- Expensive initial outlay
- Less effective in cold or heavily shaded locations
A great option for busy households who want a “set-and-forget” system for both food and some cooked scraps, with minimal maintenance.
4. Trench Composting (No Bin)
Cost: Free
Availability: N/A (just a shovel and time)
Effectiveness: Moderate to high
Ease of Use: Moderate — more physical effort
Pros:
- No equipment needed
- Improves soil where you plan to plant
- Pest risk is low if buried deeply
Cons:
- Labour-intensive
- Slower decomposition without aeration
- Requires forward planning
Best used when preparing new garden beds or orchard zones — especially during off-seasons.
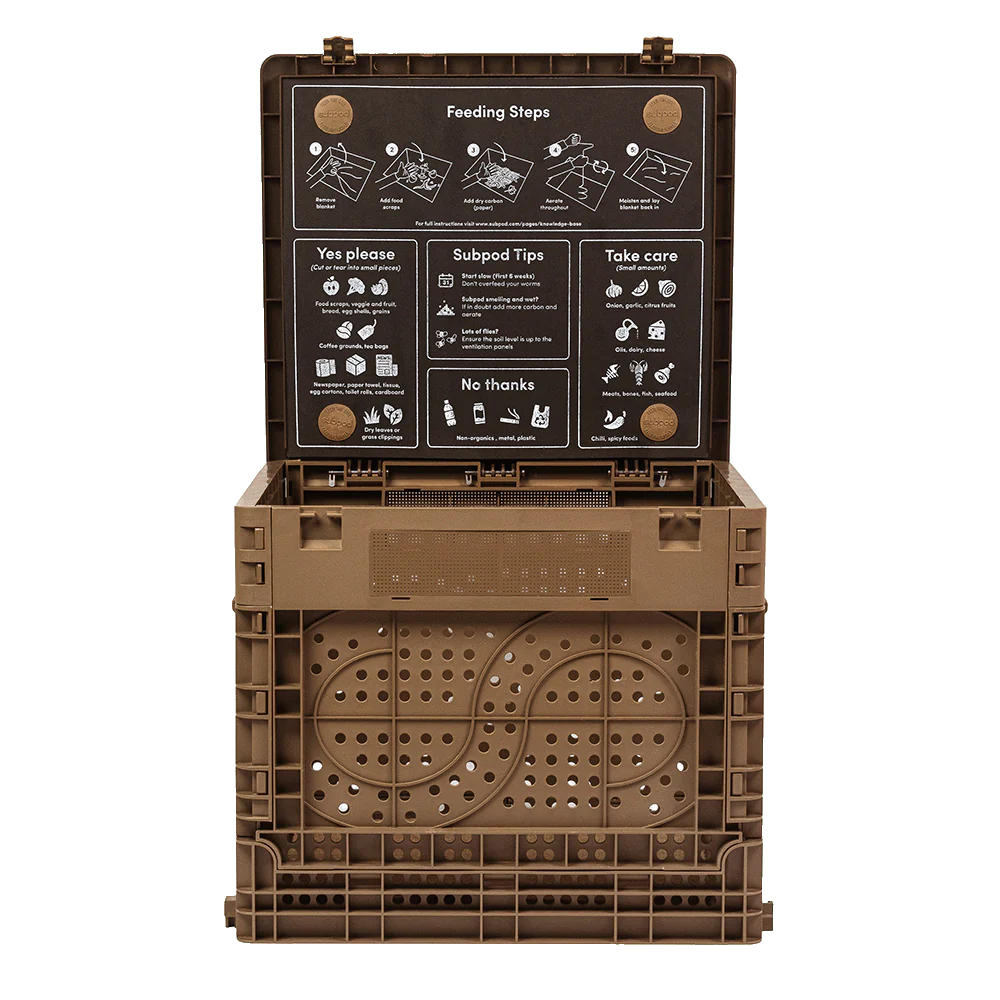
5. Subpod Mini
Cost: ~$160–$250
Availability: Direct from subpod.com.au or select eco retailers
Effectiveness: High, especially in raised beds
Ease of Use: Very easy
Pros:
- Blends composting with gardening (doubles as a garden bench)
- Includes aeration and worm-friendly design
- Made from recycled plastic
Cons:
- Premium pricing
- Needs a worm colony to function at its best
Ideal for design-conscious gardeners or small urban spaces with aesthetic considerations.
In-ground composting is a simple, low-fuss method that fits seamlessly into the rhythm of Australian gardens. With minimal effort and a bit of know-how, you’ll reduce waste, build healthier soil, and support a more resilient backyard ecosystem — one bucketful at a time.