Starting a pasture from scratch can feel daunting, especially when you’re working with just a few acres. But if you’re aiming to raise livestock, cut down on supplementary feed costs, or simply restore life to tired soils, establishing a healthy pasture is one of the most valuable steps you can take on a small farm.
Unlike large-scale operations, small landholders don’t have the luxury of trial and error across hundreds of hectares. Every square metre counts — so decisions around timing, species, and preparation carry more weight. Whether you’re managing 5 acres or 50, this guide will walk you through a simple, reliable process to establish pasture grass that feeds your stock and supports long-term soil health.
Why Pasture Matters on a Small Block
For small-scale producers, pasture is productivity. Whether you’re raising a few steers for the freezer, rotating sheep through paddocks, or just wanting to build more self-sufficiency into your lifestyle, a good pasture:
- Reduces reliance on costly supplementary feeds
- Improves animal condition and gut health
- Supports soil structure and water retention
- Limits the need for synthetic fertilisers through nitrogen-fixing plants
On smaller blocks, you typically don’t have large grazing buffers or fallow paddocks to rotate through. That makes it even more important to get your pasture off to a strong start — and manage it with care from day one.
Step 1: Start With a Purpose
Before choosing seed or prepping soil, be clear about what you want your pasture to achieve. On small farms, you’re usually balancing multiple goals: grazing, erosion control, and perhaps even aesthetics. Start by asking:
- What livestock will graze this land? (e.g. cattle, sheep, goats, mixed species)
- Is this the main source of feed, or a supplementary paddock?
- Do you need year-round coverage, or is it seasonal?
- Will you cut hay, or only graze it?
The answers will shape everything from your species mix to your management plan.
Step 2: Understand the Site — Soil, Rainfall, and Weeds
Soil Test First
Even small blocks benefit from a basic soil test. It doesn’t have to be fancy — a local agronomist, co-op, or lab can analyse for pH, phosphorus, and organic matter content. Most pasture grasses prefer a pH of 5.5 to 6.5, and the test can also flag deficiencies in nutrients like potassium or sulfur.
On a tight budget? Even a DIY test kit can reveal broad trends to help you choose the right pasture species and fertiliser.
Observe Rainfall Patterns
On small properties, you’ll often be relying on natural rainfall rather than irrigation. That makes timing critical. Autumn sowing (March–May) is usually ideal in temperate zones, letting roots establish before cold or dry conditions hit. If you’re in the tropics or northern NSW, align your sowing with early wet-season rainfall.
Deal With Weeds Early
Many small blocks — especially former lifestyle properties — have neglected paddocks overrun with broadleaf weeds or invasive grasses. Don’t skip this step: competition from capeweed, paspalum, serrated tussock, or even couch can ruin your seed strike. Use a knockdown spray (or mow heavily, then spray regrowth), and consider a rest period before sowing.
Step 3: Choose the Right Pasture Species for Small Farms
Not all pasture grasses are created equal — especially when it comes to how much time, equipment, and management they demand. For small farms, it’s important to align your pasture choices with how intensively you plan to manage your land.
Some landholders want a low-maintenance, “set and forget” ground cover that supports light grazing and keeps weeds at bay. Others are aiming for optimal forage production, higher carrying capacity, and active pasture renovation cycles. Let’s break down your options.
Choosing by Workload & Input Level
| Management Style | Best Suited For | Pasture Type | Species Examples | Notes |
| Low Input / Casual | Hobby farmers, lifestyle blocks, self-sufficient graziers with limited time | Perennial, hardy, low-fertility tolerant | Kikuyu, Rhodes Grass, Native Grasses, Sub-clover | Ideal for lower stocking rates. Less responsive to fertiliser, but reliable cover. Lower water and nutrient demand. |
| Moderate Input | Small-scale graziers, part-time farmers | Perennial + Annual Mix | Perennial Ryegrass + Clover, Phalaris + Sub-clover | Balances persistence with productivity. Needs seasonal management and moderate fertiliser. |
| High Input / Intensive | Commercial micro-farms, stud breeders, high stocking rate operations | High-performance annuals and short-lived perennials | Italian Ryegrass, Lucerne, Chicory, Plantain | High yield potential but require re-sowing, good irrigation, fertiliser, and rotational grazing to thrive. |
Low-Input Pasture Options for Small Farms
If you’re looking to establish pasture once and let nature do more of the heavy lifting, choose hardy, persistent species that tolerate variable soils and rainfall.
Kikuyu
- Best suited for: Coastal NSW, QLD, WA
- Pros: Spreads easily, great ground cover, tolerates high foot traffic and poor soils
- Cons: Can become invasive in garden areas if not managed

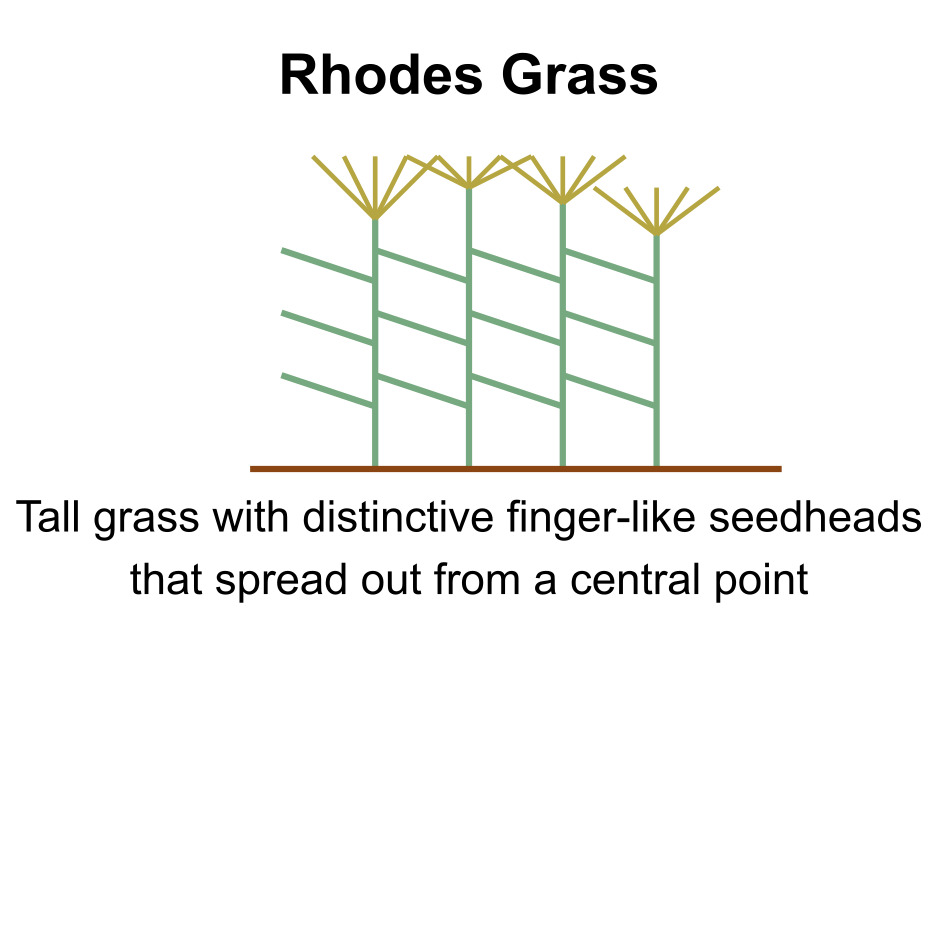
Rhodes Grass
- Best suited for: Subtropical & warm temperate regions
- Pros: Low fertiliser requirement, fast establishment, drought-tolerant
- Cons: Not as palatable in later growth stages; rotational grazing improves quality
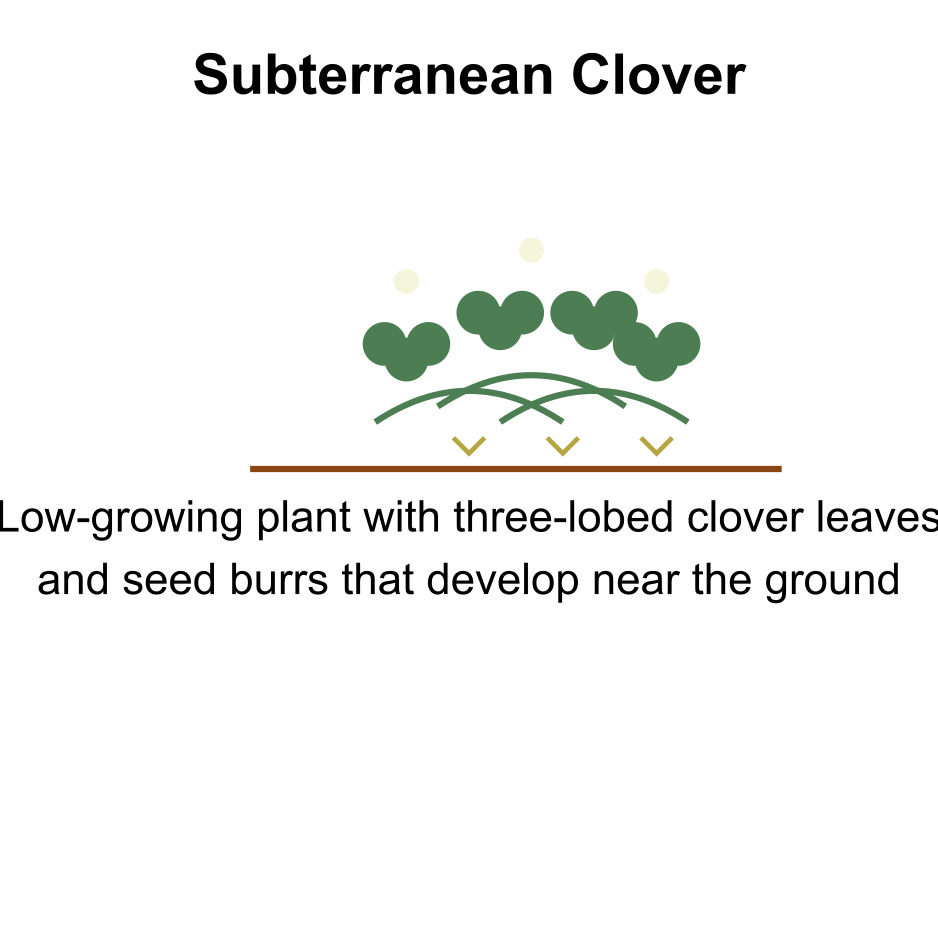
Subterranean Clover
- Best suited for: Temperate southern regions
- Pros: Nitrogen-fixing, self-seeding annual that supports perennials
- Cons: Requires autumn rains to regenerate each year
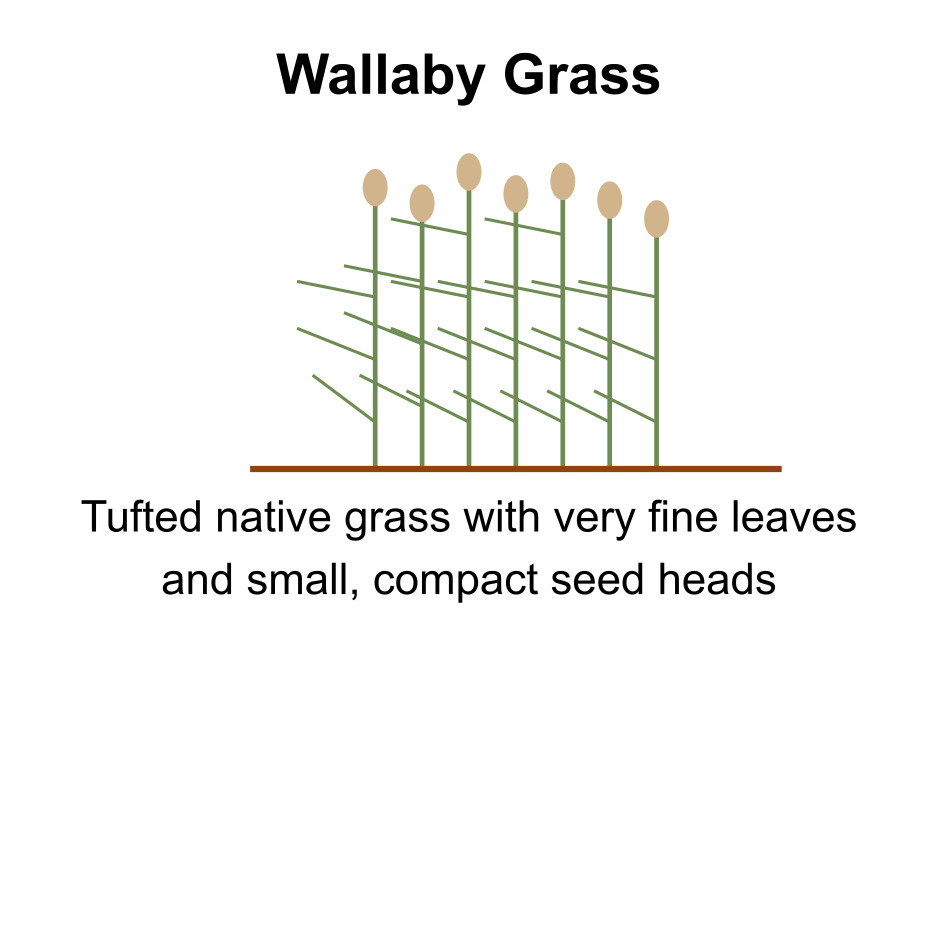
Native Grasses (Wallaby Grass, Red Grass)
- Best suited for: Poorer soils, low rainfall areas
- Pros: Extremely low maintenance, resilient to climate extremes
- Cons: Low productivity, but good base feed and biodiversity benefits
These species are well-suited to part-time farmers or smallholders who want functional, self-sustaining pasture with minimal inputs.
Higher-Input Pasture Options for Maximum Productivity
If you’re serious about grazing performance — maybe finishing cattle or maximising DSE per hectare — you’ll want pasture species that respond well to fertiliser, irrigation, and strategic grazing.
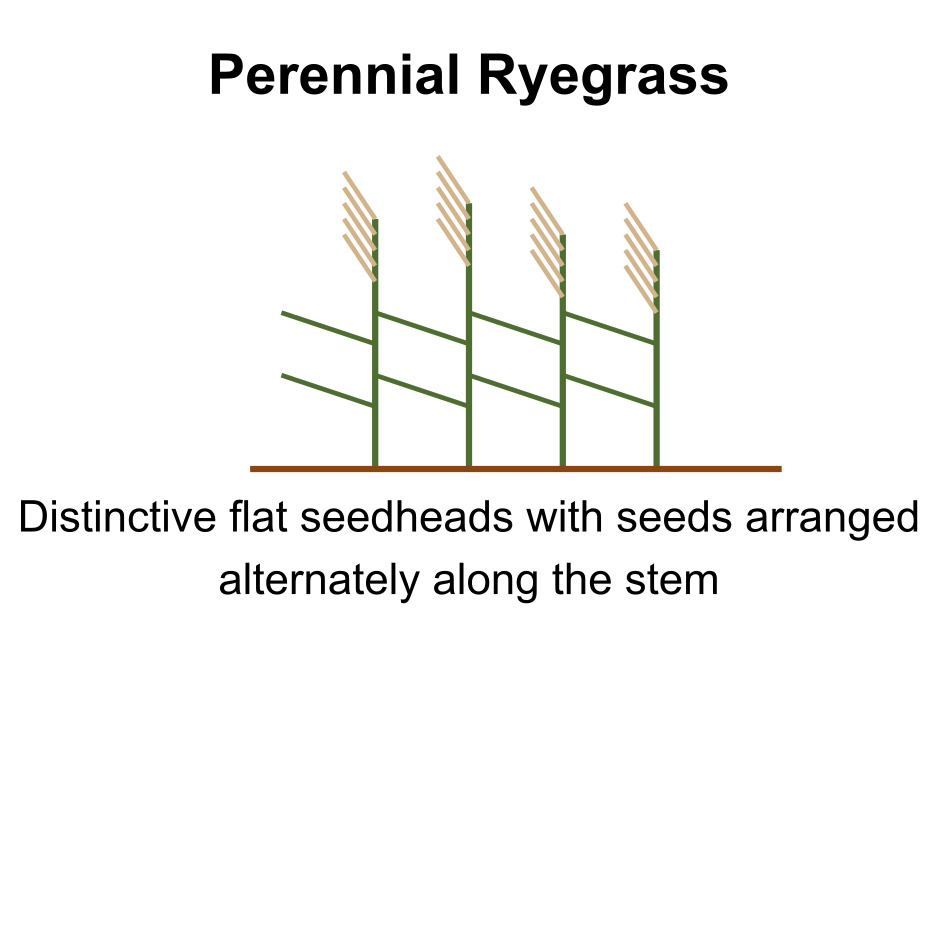
Perennial Ryegrass (with Clover)
- Best suited for: High-rainfall zones in VIC, TAS, southern NSW
- Pros: Excellent feed quality and productivity; fast regrowth
- Cons: Poor drought tolerance, needs good soil fertility
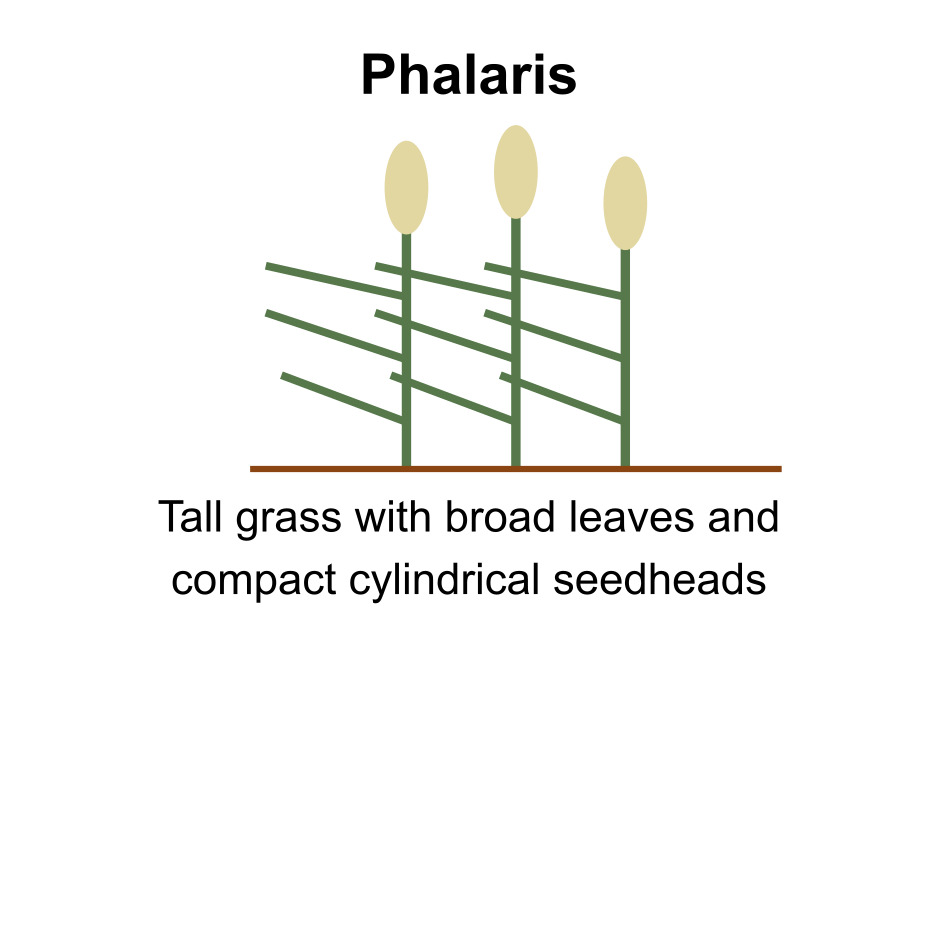
Phalaris + Sub-clover
- Best suited for: Southern tablelands, slopes and higher rainfall zones
- Pros: Long-lived, deep-rooted, handles cold and dry spells well
- Cons: Can become toxic (phalaris staggers) without careful management
Lucerne (Alfalfa)
- Best suited for: Well-drained soils across temperate regions
- Pros: High-protein forage; drought-resistant once established
- Cons: Doesn’t tolerate waterlogging; requires rotational grazing and occasional reseeding

Chicory & Plantain
- Best suited for: Free-draining soils with reliable rainfall
- Pros: Deep-rooted herbs with high digestibility and minerals
- Cons: Often used in short-rotation mixes; requires careful grazing management to persist

These species are best used where you’re committed to actively managing grazing pressure, monitoring soil nutrition, and possibly renovating every 3–5 years for peak productivity.
Should You Go with a Seed Mix?
Yes — if you’re establishing a small pasture from scratch, a custom seed blend matched to your region and goals will give you the best results. Many seed companies now offer mixes designed for:
- Small landholders with no machinery
- Specific animals (e.g. horse-safe, high-protein for goats)
- Erosion control on slopes or sandy soils
Look for pasture packs that balance persistence (perennials), nutrition (legumes/herbs), and rapid cover (annuals or fast-spreading grasses).
Step 4: Prepare Your Site (Without Heavy Machinery)
For small landholders, site preparation is the make-or-break step — especially if you’re not using tractors or large implements. Your aim is to create a clean, receptive seedbed where young pasture roots can outcompete weeds and bind to the soil.
Option A: Hand Tools & Basic Implements
- When to use: Blocks under 1 hectare or areas with light weed pressure
- Tools needed: Brush cutter or scythe, garden rake, rotary hoe or cultivator
- Steps:
- Slash all existing vegetation as low as possible.
- Remove thatch and debris with a rake.
- Use a rotary hoe (or heavy-duty garden fork) to break soil 5–10cm deep.
- Level and lightly firm the area before sowing.
Option B: Small Tractor or Walk-Behind Implements
- When to use: 1–10 hectare blocks with heavier weed or grass competition
- Tools needed: Slasher, harrows or disc cultivator, roller or weighted chain
- Steps:
- Slash and cultivate to bury existing growth.
- Harrow to break up clumps and expose topsoil.
- Roll lightly to create a firm seedbed.
Tip: Avoid tilling too deep — pasture species have fine seeds and need shallow, compacted soil for germination. Overworked soil dries out quickly and invites erosion.
Step 5: Sowing — Timing, Technique & Tools
Pasture sowing on a small block doesn’t require a seed drill or contract planting crew — but timing, seed depth and soil contact matter immensely.
Best Time to Plant Pasture Grass in Australia
- Temperate zones (VIC, TAS, southern NSW, SA): Early autumn (March–April)
- Subtropical zones (QLD, northern NSW, NT): Late spring (October–November)
- WA & dryland areas: After first significant break in the season (20–30mm rain)
This aligns with natural rainfall and gives seedlings the best shot at rooting deeply before seasonal extremes.
How to Sow for Small Holdings
| Method | Suitable For | How to Do It | Notes |
| Broadcasting by hand or spreader | <5 ha, low budget | Mix seed with coarse sand or pellet carrier for even distribution | Lightly rake or harrow afterward to cover seed |
| Drop seeder or small spreader | 5–10 ha, small tractor | Controlled distribution with adjustable depth | Follow with a roller or light drag |
| Hydroseeding | Slopes or erosion-prone land | Seed mixed with mulch and water, sprayed onto surface | Expensive, but effective in tough terrain |
Depth Rule: Most pasture seeds (ryegrass, clovers, herbs) should be no deeper than 10mm. Deeper than that, and you’ll lose germination.
Step 6: Early Management — The First 12 Weeks
After sowing, your pasture is in its most fragile stage. You’ll need to manage moisture, weeds, and animals to avoid early failure.
Water (If Possible)
Rainfall is ideal — but if you’re sowing a small paddock (<1 acre) and have water access, light irrigation every few days will speed up establishment. Don’t flood the area; just keep the topsoil moist.
Weed Control
Let your pasture get ahead of weeds. If broadleaf weeds appear early (e.g. capeweed, thistles), mow or slash above the seedling height rather than spraying, unless using a grass-only mix.
Keep Stock Off
This is non-negotiable. Allow 8–12 weeks minimum before introducing grazing. Even light foot traffic can crush seedlings or compact soil. Use electric fencing or temp barriers where needed.
Step 7: Grazing, Recovery & Rotational Management
Once established, your new pasture is ready to be grazed — but how and when you do it will decide whether it thrives or collapses in the long run.
First Grazing
- Test root strength: grab a clump of grass and pull gently. If it lifts easily, wait longer.
- Graze lightly and quickly: allow animals to nip the tips, not tear crowns out.
- Move them off fast (1–3 days), and allow 3–6 weeks of recovery time.
Rotational Grazing for Small Blocks
You don’t need 20 paddocks to rotate effectively. Even on a 5-acre parcel, using electric polywire to create 3–4 zones can improve regrowth and reduce overgrazing.
| Block Size | Suggested Zones | Rotation Time (Rest:Graze) |
| 1–2 ha | 3 zones | 21:3 (21 days rest, 3 days graze) |
| 2–5 ha | 4–5 zones | 28:4 |
| 5–10 ha | 5–7 zones | 35:5 |
You can also integrate hay or silage cuts if pasture gets ahead of stock, helping maintain feed quality and seed bank longevity.
Step 8: Ongoing Upkeep & Reseeding
Monitor Your Pasture
- Use photo points or seasonal pasture scoring
- Look for bare patches, weed invasion, or low-density cover
- Soil test every 2–3 years (pH, phosphorus, potassium, organic matter)
Reseeding Options
- Oversow in autumn (temperate) or spring (tropics)
- Use a rake or harrows to rough up soil surface
- Apply seed mix with a broadcast spreader + light rolling
Fertilising
- Aim for a slow-release or organic product suited to your stocking rate
- Avoid nitrogen-heavy blends unless rotating intensively
- Don’t fertilise new seedlings until 6–8 weeks post-germination
Final Word: Pasture Is a Long Game
Starting a pasture from scratch on a small farm is more than a one-season job. It’s a cycle — of watching the soil, observing your animals, and gradually fine-tuning the species and practices that suit your unique land.
Whether you’re after a low-effort grass cover for a self-sufficient block or a productive grazing setup for cattle and sheep, starting small and staying observant will yield the best results. Pasture thrives under pressure — but only the right kind.