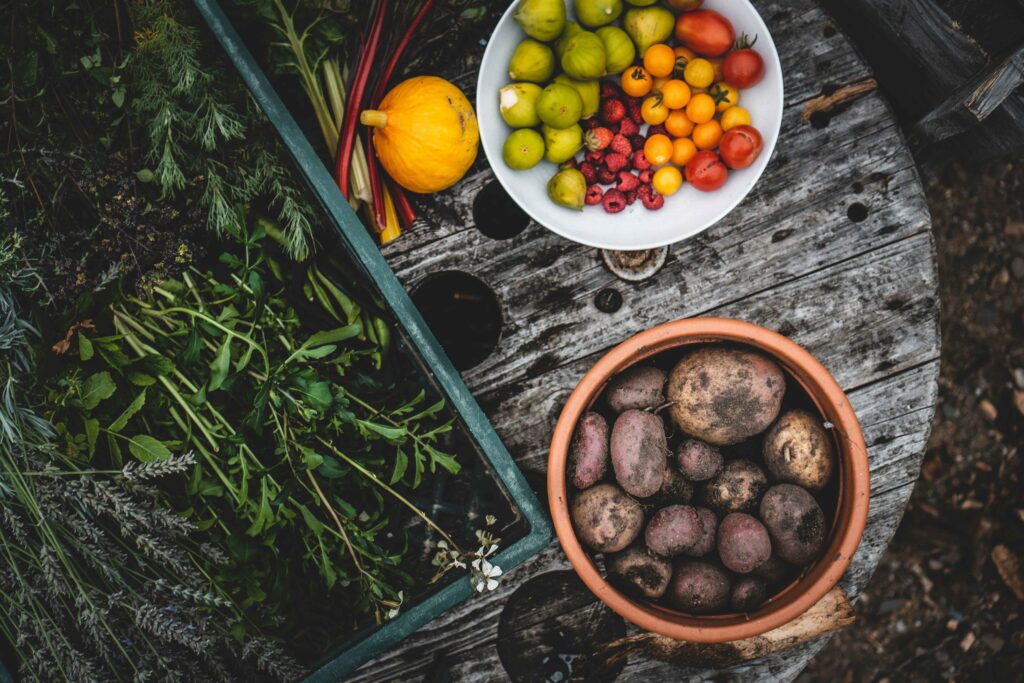
Winter gardening in Australia doesn’t have to mean watching your hard-earned vegetables succumb to unexpected frosts. With food costs rising and more families turning to home-grown produce for both savings and food security, protecting your winter crop has never been more important.
The good news? You don’t need expensive commercial solutions to keep your plants safe. These seven budget-friendly DIY frost protection methods have been tested by Australian gardeners from Tasmania to Queensland, proving that effective plant protection can cost less than a weekly grocery shop.

Understanding Australian Frost Zones: When and Where Protection Matters
Before diving into protection methods, it’s crucial to understand your local frost risk. Australia’s diverse climate means frost patterns vary dramatically:
High Frost Risk Areas:
- Tasmania (zones 7-8): Regular heavy frosts from May-September
- Southern Victoria and NSW highlands: Frequent frosts June-August
- Adelaide Hills and surrounding regions: Moderate to heavy frosts
- Blue Mountains and tablelands: Severe frost potential
Moderate Frost Risk:
- Melbourne and outer suburbs: Light to moderate frosts
- Canberra region: Regular winter frosts
- Perth hills: Occasional frosts
Low Risk (but still possible):
- Sydney coastal: Rare frosts, mainly in outer suburbs
- Brisbane: Very occasional light frosts
- Coastal Queensland: Minimal frost risk
Even in low-risk areas, unexpected cold snaps can devastate unprotected crops. A single frost can destroy weeks of growth, making protection a worthwhile investment anywhere south of the Tropic of Capricorn.
7 Proven DIY Frost Protection Methods
1. Recycled Plastic Bottle Cloches ($0 Cost)
Best for: Individual plants, seedlings, herbs
The simplest and most cost-effective protection uses materials you already have. Large plastic bottles (2L soft drink or milk bottles) create individual mini-greenhouses that can protect plants down to -2°C.
How to make:
- Cut the bottom off a clear plastic bottle
- Remove the cap for ventilation during the day
- Place over individual plants, pushing 2-3cm into soil
- Replace cap on particularly cold nights
Effectiveness: Provides 2-4°C of temperature protection. Perfect for protecting newly planted herbs, small vegetables, or vulnerable transplants.
Pro tip: Milk bottles work better than soft drink bottles as they’re less likely to crack in cold weather.
2. DIY Row Covers with Hoops ($15-30 per 3m row)
Best for: Vegetable beds, multiple plants in rows
Commercial row covers can cost $50+ per row. This DIY version costs a fraction while providing professional-level protection.
Materials needed:
- 9-gauge galvanised wire ($8 for 10m coil)
- Frost protection fabric or old bedsheets ($10-15)
- Pegs or clips ($5)
Construction:
- Cut wire into 1.5m lengths
- Bend into semicircular hoops
- Push ends 15cm into soil along plant rows
- Drape fabric over hoops, securing edges with pegs
Effectiveness: Lightweight fabric provides 2-3°C protection, heavier materials up to 4-5°C. Allows light and water through while blocking frost.
3. Water-Filled Protection ($5-10 per plant)
Best for: Larger plants, fruit trees, established vegetables
Water stores heat during the day and releases it slowly at night, creating a microclimate around plants.
Method 1 – Plastic Bottle Ring:
- Fill clear plastic bottles with water
- Arrange in a circle around plants
- Black bottles heat faster but clear bottles store heat longer
Method 2 – Bucket Method:
- Place black buckets filled with water near valuable plants
- Cover with clear plastic on cold nights
- Water temperature can be 5-10°C warmer than air temperature
Effectiveness: Can raise the immediate area temperature by 3-6°C. Particularly effective for protecting small fruit trees and established vegetable plants.
4. Strategic Mulching ($10-20 per garden bed)
Best for: Soil protection, root vegetables, established plants
Proper mulching isn’t just about water retention – it’s crucial for frost protection by insulating soil and plant roots.
Best mulching materials for frost protection:
- Straw (ideal for vegetables): $8-12 per bale
- Fallen leaves (free): Collect from deciduous trees
- Newspaper layers (free): Cover with prettier mulch
- Pine needles: Good for acid-loving plants
Application:
- Apply 10-15cm thick around plants
- Keep mulch 5cm away from plant stems
- Pull back slightly in spring for soil warming
Effectiveness: Soil mulching can prevent ground frost and maintain root zone temperatures 2-3°C higher than exposed soil.
5. Windbreak and Microclimates (Free – $30)
Best for: Entire garden areas, long-term protection
Wind dramatically increases frost damage. Creating sheltered microclimates can make the difference between plant survival and loss.
Quick windbreaks:
- Shadecloth attached to star pickets ($20-30)
- Bamboo screens ($15-25)
- Strategic plant placement (free)
Microclimate creation:
- Plant near north-facing walls for heat reflection
- Use existing structures like sheds or fences
- Group susceptible plants together for easier protection
Effectiveness: Reducing wind speed by 50% can increase local temperature by 2-3°C. Combined with other methods, this can mean the difference between frost damage and healthy plants.
6. Thermal Mass and Heat Storage ($20-40)
Best for: Greenhouse areas, cold frames, concentrated growing spaces
Adding thermal mass to your garden creates heat batteries that moderate temperature swings.
DIY thermal mass options:
- Large rocks or concrete blocks near plants
- Black-painted water containers
- Concrete pavers between plant rows
- Compost heaps (generate heat naturally)
Advanced method – solar heat collectors:
- Black plastic bottles filled with water
- Arrange in protected, sunny spots
- Cover with clear plastic to trap heat
Effectiveness: Thermal mass can moderate temperature swings by 3-5°C, providing crucial protection during borderline frost conditions.
7. Emergency Protection Methods (Under $10)
Best for: Unexpected frost warnings, last-minute protection
Sometimes you need protection immediately. These emergency methods can save crops when frost warnings come with little notice.
Newspaper tent method:
- Drape multiple newspaper layers over plants
- Secure with stones or pegs
- Remove in morning to prevent overheating
Bedsheet coverage:
- Old sheets provide excellent emergency protection
- Ensure fabric doesn’t touch leaves directly
- Support with stakes if needed
Sprinkler frost protection:
- Counterintuitively, water releases heat as it freezes
- Light misting during frost can protect to -2°C
- Only effective with continuous water application
Effectiveness: Emergency methods can provide 1-3°C protection – often enough for light frosts.
Cost Breakdown: Budget vs Premium Solutions
| Protection Level | DIY Cost | Commercial Equivalent | Savings |
| Individual plants | $0-5 | $15-25 per cloche | 80-100% |
| Row protection (3m) | $15-30 | $60-100 | 60-75% |
| Whole bed (12m²) | $30-60 | $150-300 | 70-80% |
| Garden thermal mass | $20-40 | $100-200 | 70-80% |
What to Protect First: Priority Plants for Winter Harvest
Not all winter vegetables need equal protection. Focus your efforts on these priorities:
Most Frost-Sensitive (protect first):
- Newly transplanted seedlings
- Basil, oregano, and tender herbs
- Tomato plants you’re trying to extend
- Capsicum and eggplant
- Young citrus trees
Moderately Sensitive:
- Established lettuce and leafy greens
- Asian greens (bok choy, mizuna)
- Established herb plants
- Bean plants
Frost-Hardy (protect only in severe frost):
- Kale and winter cabbage
- Brussels sprouts
- Leeks and onions
- Root vegetables (carrots, turnips)
- Established fruit trees
For more details on the best winter vegetables to grow and their frost tolerance, check out our comprehensive guide to winter vegetable gardening.
Regional Timing Guide: When to Implement Protection
Tasmania and Alpine Areas
- Start protection: Early April
- Peak protection period: May-August
- Essential period: June-July (heaviest frosts)
Melbourne and Southern Victoria
- Start protection: Late April
- Peak protection period: June-August
- Essential period: June-July
Sydney and Central NSW
- Start protection: May (outer suburbs), June (coastal)
- Peak protection period: June-August
- Essential period: July (coldest month)
Adelaide and Southern SA
- Start protection: Late April
- Peak protection period: May-August
- Essential period: June-July
Perth and Southwest WA
- Start protection: May (hills), June (plains)
- Peak protection period: June-August
- Essential period: July
Brisbane and Southeast Queensland
- Start protection: June (only for susceptible plants)
- Peak protection period: June-August
- Essential period: July (if needed)
Common Frost Protection Mistakes to Avoid
1. Using Non-Breathable Materials
Mistake: Covering plants with plastic bags or tarps directly on leaves.
Why it fails: Creates condensation and can cause more damage than frost.
Solution: Always use breathable materials or ensure plastic doesn’t touch plants.
2. Leaving Protection On Too Long
Mistake: Keeping covers on during warm, sunny days.
Why it fails: Plants overheat and become weakened.
Solution: Remove or ventilate covers when temperatures rise above 15°C.
3. Inadequate Anchoring
Mistake: Poor securing of covers and barriers.
Why it fails: Wind damage is often worse than frost damage.
Solution: Use adequate pegs, weights, or ties. Check anchoring regularly.
4. Protecting Everything Equally
Mistake: Spending equal effort on frost-hardy and sensitive plants.
Why it fails: Wastes resources and effort.
Solution: Prioritise protection based on plant sensitivity and value.
5. Ignoring Soil Protection
Mistake: Focusing only on above-ground plant parts.
Why it fails: Root damage can be worse than leaf damage.
Solution: Include mulching and soil protection in your frost strategy.
Advanced Tips for Maximum Protection
Combining Methods for Severe Conditions
For areas with regular heavy frosts, combine multiple protection methods:
- Base layer: Heavy mulching around plants
- Thermal mass: Water containers or rocks for heat storage
- Primary protection: Row covers or individual cloches
- Backup: Emergency sheets or newspaper for unexpected severe frosts
Creating Frost-Free Zones
Identify and develop the warmest spots in your garden:
- North-facing walls: Reflect heat and block cold southerly winds
- Under large trees: Canopy prevents heat loss to clear sky
- Sloped areas: Cold air drains away from plants
- Near buildings: Structures provide wind protection and thermal mass
Monitoring and Prediction
- Frost prediction apps: Bureau of Meteorology provides local forecasts
- DIY frost monitoring: Min/max thermometers show actual garden conditions
- Plant indicators: Sensitive plants like impatiens show first frost signs
Long-Term Garden Planning for Frost Protection
Permanent Structure Investments
While focusing on budget solutions, consider these longer-term investments:
- Cold frames: $50-100 DIY, last for years
- Small greenhouse: $200-500, protects valuable plants
- Permanent windbreaks: Plant-based solutions grow over time
Plant Selection Strategy
Choose varieties bred for cold tolerance:
- Winter-hardy vegetables: Look for varieties specifically bred for cool climates
- Succession planting: Stagger plantings to spread risk
- Microclimate matching: Place plants according to their cold tolerance
Conclusion: Protecting Your Investment Year-Round
Effective frost protection doesn’t require expensive commercial solutions. With these seven DIY methods, you can protect your winter garden for less than the cost of a week’s vegetables from the supermarket.
The key to success is preparation and understanding your local conditions. Start with the free methods like mulching and microclimates, then add targeted protection for your most valuable plants.
Remember, every plant you save from frost damage is money in your pocket and food on your table. In an era of rising food costs and increasing interest in self-sufficiency, these simple protection methods are investments in your family’s food security.
Ready to get started? Begin with the free methods this week, and gradually build your frost protection toolkit. Your winter harvest – and your grocery budget – will thank you. And once you’ve got your veggies protected, you’ll want to know how to store them too!


